You have to get the developer kits from their creators!
Sidenote: How to get the Avamesh Developer kit:
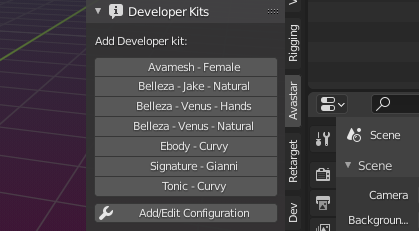
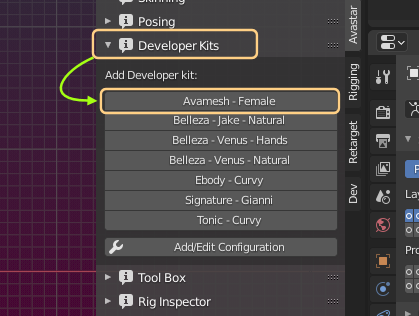
- Open the Developer kit Manager.
- Select Avamesh – Female
Note: The Avamesh is just a Demo model. Please use it for your own education. But you are also free to use it as a basis for your own projects, you can upload to SL and we encourage you to improve it as you like. We are happy when you share your improvements with us.
Below you find a brief overview for how to use this tool. You need to:
- Get your Developer kit from the creator (make sure you get .dae or .blend files)
- Open the Developer kit configuration Panel
- Create a new Developer kit configuration (you need information from the creator)
- Save the configuration
- Open the Developer kit Panel in the Avastar Tab and see the new Developer kit entry that you just created
Details follow below:
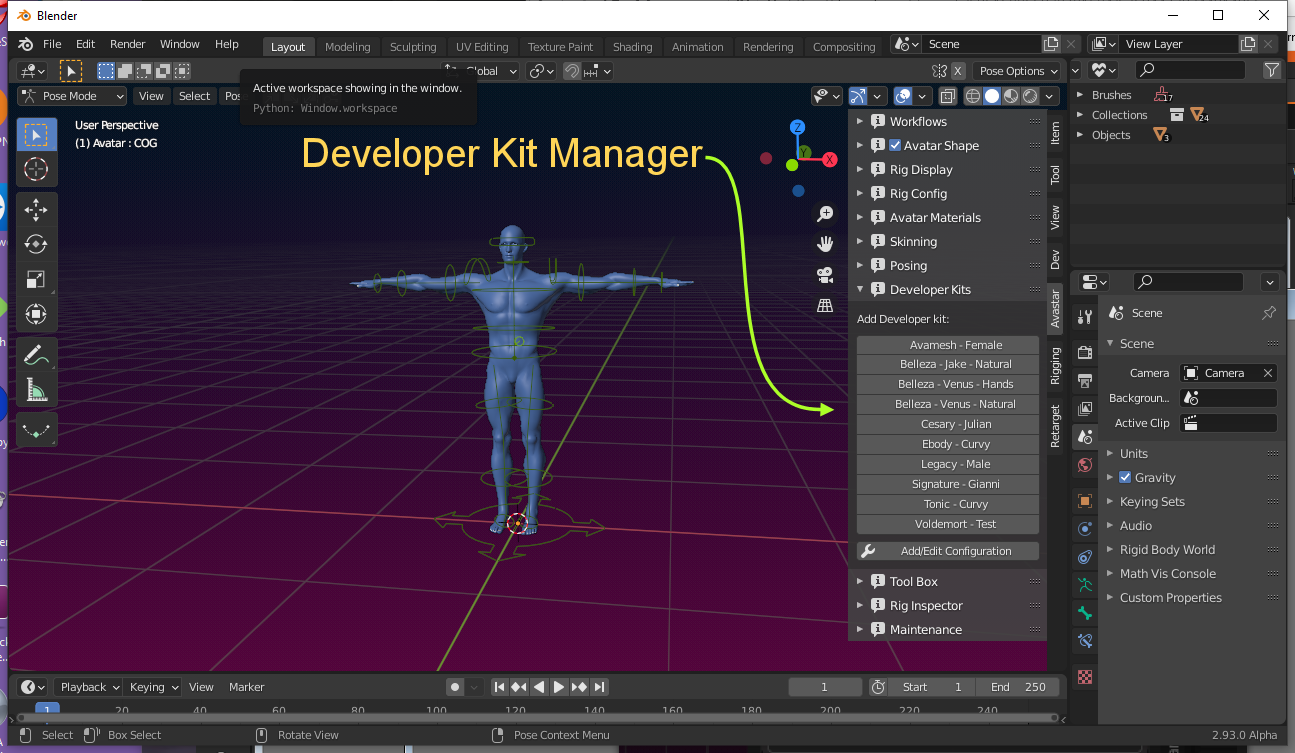
Open the Developerkit configuration panel
When you open the Developer kits Panel in the Avastar Tool Shelf for the first time, youy see one entry for the Avamesh developer kit (this is our own kit and we ship it with Avastar). So on a fresh installation of Avastar you will only see the Developer Kits panel looks as shown in the image aside.
Your next step is to configure your developer kits. You open the configuration panel by Click on the Add/Edit Configuration button.
Create a new developerkit configuration
When you click on the Add/Edit Configuration button as described above, you may need to scroll down a bit until you find the Developer kit Configurations panel (see image below)
Of course all fields are empty at the beginning and some fields are even marked with a red background. Those fields are mandatory and must be filled. Please fill out the fields and follow the suggestions below:
filepath
Where your collada file (or blend file) is located on your disk
Brand
You can set the brand as you like, we suggest you put the creator’s name here
Name
You can set the name as you like, we suggest you put the name of the kit model here
For all other fields you either need to contact the Developer kit Creator or you need to experiment. The usage tips below may give you hints.

Save the configuration
When you are done with the configuration, the last step is to store the configuration. You do this by clicking the Add/Replace Devkit Preset button at the bottom of the Developerkit Configuration panel.
Open the Develeropkit Panel in the Avastar Tab
If all went well then your new configuration is added to the list of available developer kits in your computer. In the image at the side we have already configured 6 Models from 4 Brands (Belleza, Ebody, Signature and Tonic)
Below you find some usage tips for how to set up the configuration parameters.
Usage Tips
The customization looks a bit complicated first. But you will quickly find out that most fields are self explaining. However there are a few points that may cause problems:
- Use Male Shape: Developer kits made for Male avatars may need to enable the male gender. You can do this at any time in the Shape Editor panel, or you can instruct the Developer kit Manager to do this for you
- Use Male Skeleton: Although it is rare, still some Developer kits come with a male skeleton (male shape baked into the bones). In this case you must enable this option. Otherwise your final mesh will become too big when you upload to Secondlife. When in doubt, try first without this setting. If the final attachments do not want to match with the Avastar body, then this option might need to be enabled (please ask the Developer kit creator when ion doubt)
- Joint Types: SL supports 2 Joint Types (POS and PIVOT) and unfortunately both types are used by different Developer kits. Sometimes it is even necessary to set the joint type of the imported rig differently from the joint type of the final Avastar character. You see the joint types are wrong when you get small deviations on shoulders and chest after importing your attachments to SL.
- Transfer Joints: You want to transfer joints only when the Developer kit is a non human rig or when it is reportedly modified (Note: for A-Posed rigs you have to enable this option, see next line!)
Some more remarks about using Bind Pose:
- When the imported rig only uses a different pose but has otherwise no joints edited (Belleza and TMP are examples for this) then you still have to Transfer Joints, but you also can use the Use Bind Pose option in that case.
- When your imported rig has significant changes from the default SL Rig (significant joint edits) then be careful with the Use bind pose option.
- Also when your imported rig is scaled up or down for tinies and giants, then please be very careful with using the bind pose option. It may give you a lot of trouble in those cases.
About Limits?
You can configure as many development kits as you like. the only restrictions are:
- We only support blend files and Collada files.
- We can only configure one armature per file. If a Developer kit comes with multiple armatures in one file then we can not handle this properly for now.
- We do not distribute Developer kits. You must get the kits from their creators. (Avamesh is our own demo developer kit)
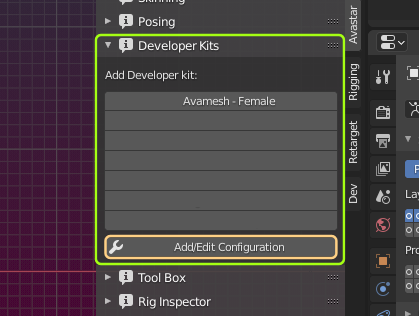
When you are done then the Rig Importer changes its display as seen on the image aside. You now can click on the Buttons to get a ready made Developer kit model placed into the scene.