The Avastar Preferences Button is actually a shortcut to the Avastar Add-on Preferences where you can setup the Avastar Add-on parameters. Normally you do not want to change anything here. However especially if you are a long time user or someone who knows much about Blender, then you possibly can make Avastar work better for you by adjusting the options in that panel.
The Add-on preferences contain various customization parameters for setting up the Avastar User Interface. You get to the Add-on preferences page as follows:
- Open the Workflows Panel in the Avastar vertical tab
- Click the Avastar Preferences
Right after you clicked on the Avastar Preferences button a new Panel appears in a popup window (see below). There you can modify the Avastar settings. Please read the tool tips for further explanations of the parameters.
The Add-on Preferences Popup
The Addon Preferences panel contains quiet a few settings for adjusting Avastar to your personal needs. All preferences have been documented by using long tool tips and additional information right beside each section. Just hover over a specific element to see what it is about.
The Addon general settings
The Main Addon Section is similar for all Addons.
- Documentation: link to Avastar.guru
- Report a Bug: Link to our support system
- Remove: To remove the Addon permanently
The Links
The General Settings
Debug Settings
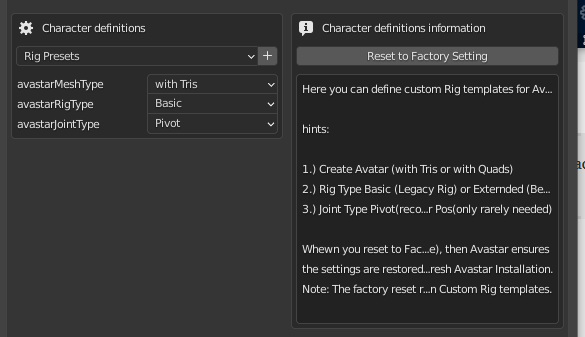
Character Definitions
Here you can add your own Avastar Rig Presets. You find your presets later in the Menu
Add -> Avastar -> …
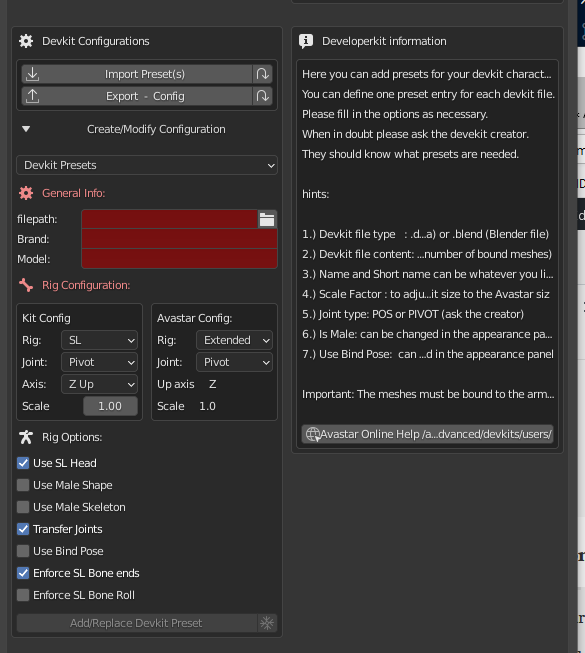
Developerkit Configurations
This is the Panel where you configure developerkits. Please keep in mind:
- We do not distribute Developerkits
- Please use only official Developerkits from the Creator
- Developerkits should provide Collada files (dae)
- Developerkits that ship with Avastar Armatures must(!) be updated with each published Avastar release. This should be done by the Developerkit creator.
Remind: We strongly recommend that Developerkits come with proper SL compatible Collada Files.
User Credentials
Only applies when you have an account on the Machinimatrix website. Here you can make your credentials persist any restart of Blender.
Note: The credentials are only stored on your local computer. You are safe to ship your blend files, they do not contain the credentials
Panel Visibility
- Show Collada Panel (in the Tool shelf)
- Define location of the Appearance Panel
- Addon Complexity of user interface
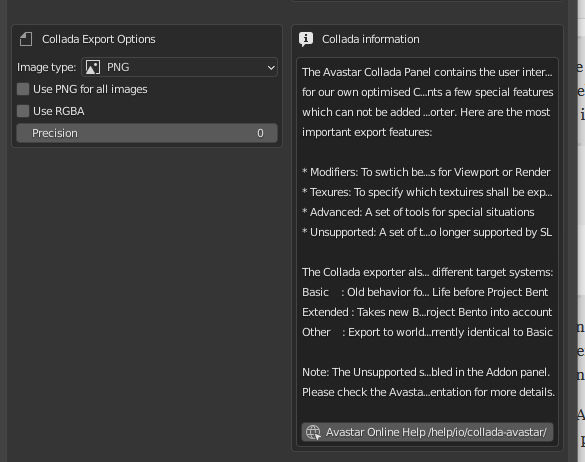
Collada export Options
- image type only affects generated images
- Use that image type for every exported image
- Use RGBA adds image transparency channel
- Precision to be used when exporting Collada Data
default:0 (no precision limit)
Note: You want to avoid having an Alpha channel in your images due to issues with Alpha Textures (Alpha sorting problem) in SL
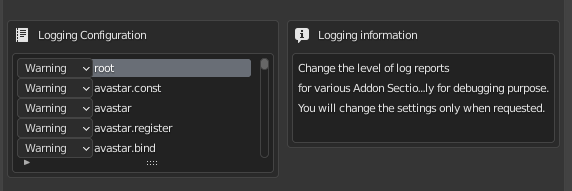
Logging Configuration
You normally do not want to change the settings here. The various selections control how much information is passed to the Blender Console Window.
Use only when requested.


