What we will do now
We first create a default Avastar character. This Object is normally used as a reference for your Avatar attachments. But you can also use the Avastar character as template for creating your own Mesh character.
Usage scenarios for Avastar
- Dummy model for clothing attachments
- Model for Animations
- Basis mesh for your own character
- Basis for your non human character creations (Create Avatar with “rig only”)
How to add a new Avastar Character - Read more...
Adding a new Avastar
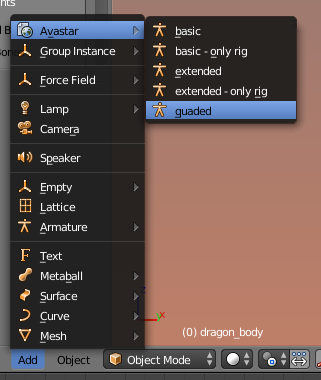
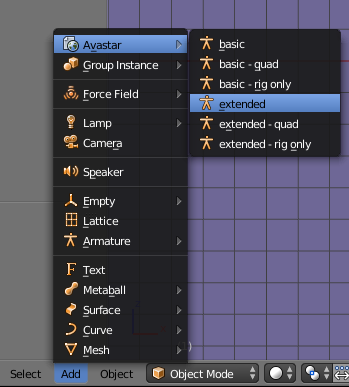
You can add a new Avastar Character only when Blender is in Object mode. You navigate to the Add -> Avastar menu and select from one of the rig types:

After a short time (typically 2-4 secs) a new Avastar character is created in the 3D View and at the center of the 3D View .
Add your own entries to the Add menu - Read more...
Avastar comes with 6 ready made Presets for adding new characters:
- Basic Mesh (Triangles) + Basic skeleton
- Basic Mesh (Quads) + Basic skeleton
- Basic skeleton (no Mesh)
- Extended Mesh (Triangles) + Extended Skeleton
- Extended Mesh (Quads) + Extended Skeleton
- Extended Skeleton (no Mesh)
Besides these default presets you can add your own entries to the Add menu. You do this in the Add-on Preferences Panel of the Avastar-2 Add-on. Below you find how it is done.
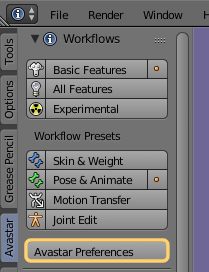
Step 1: Open the Add-on Preferences Panel:
- Open the Tool Shelf
- Open the Settings Panel
- Click the Avastar Preferences Button
This will open a popup window with the User preferences panel of the Avastar-2 Add-on (see below)
Step 2: Create new Presets
In the Add-on Preferences Panel you find the section Character Definitions(see image below). Here you can define your additional Character Rig Presets:

The preset Attributes…
Create Avastar with …
By default you only can create Avastar characters using Triangles. However if you also have Sparkles-Pro installed, then you can also choose to create Avastar Meshes with Quads.
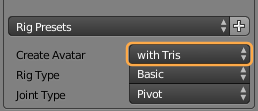
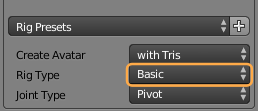
The Rig Type
We support 2 Rigtypes
- Basic (legacy rig – 26 mBones)
- Extended (Bento rig – 136 mBones)
The Joint Type
The SL Rig supports 2 Joint types with very tiny differences. The reason why there exist 2 Joint types can only be explained as historic facts:
- Pos Joints (Used by the System Character)
- Pivot Joints (Used for Custom meshes, default)
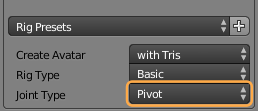
In most cases you want to use Pivot Joints. But sometimes (especially when it comes to foreign developer kits) you may need to use the Pos Joints to keep best compatibility with what you get in world.
Tip: we have not yet found a good reason for when to use the POS Joints (which are slightly less precise) But we found that for example the Belleza Developer kit uses them. When in doubt, then try out which joint type matches best for your purposes.
Step 3: Create the Preset
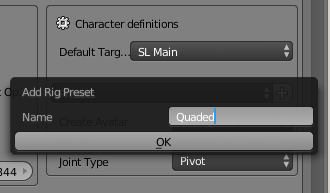
When you have specified your settings, then you are ready to create your new Preset by clicking on the white + sign right sided to the RigPresets Drop Down Menu.
A small popup Window opens where you can give your Preset a name. You press OK to store your preset permanently. Please use only ASCII characters and avoid special keys and Umlauts.
From now on you find the new Preset in the Avastar Add menu
Note: When you delete the Avastar default Presets, then this deletion is only valid for the current Blender session. As soon as you restart Blender the Avastar default Presets are automatically recreated.