Making Animations
A Single Pose in Easy Steps
1. In the main window in object mode Press Add>Avastar>Either Basic or Extended.
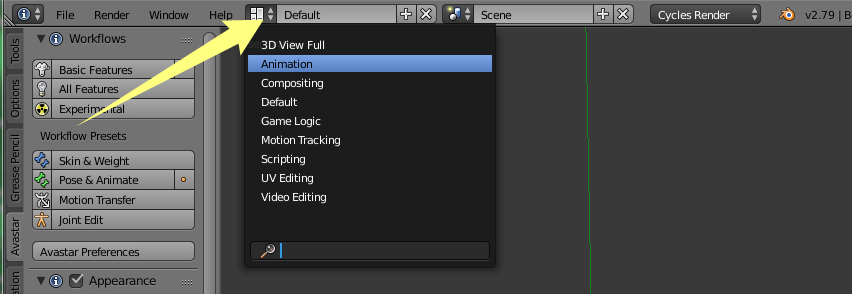
2. Switch to the Animation screen layout at the top of Blender using the drop down arrows.
3. You might notice the vertical Tools panel has disappeared. So, put the mouse in the main window, press keyboard T then click the Avastar tab.
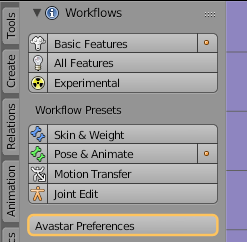
4. In Workflows at the top of the Avastar panel, choose Pose & Animate preset.
5. In Rig Display, untick the Limit checkbox.

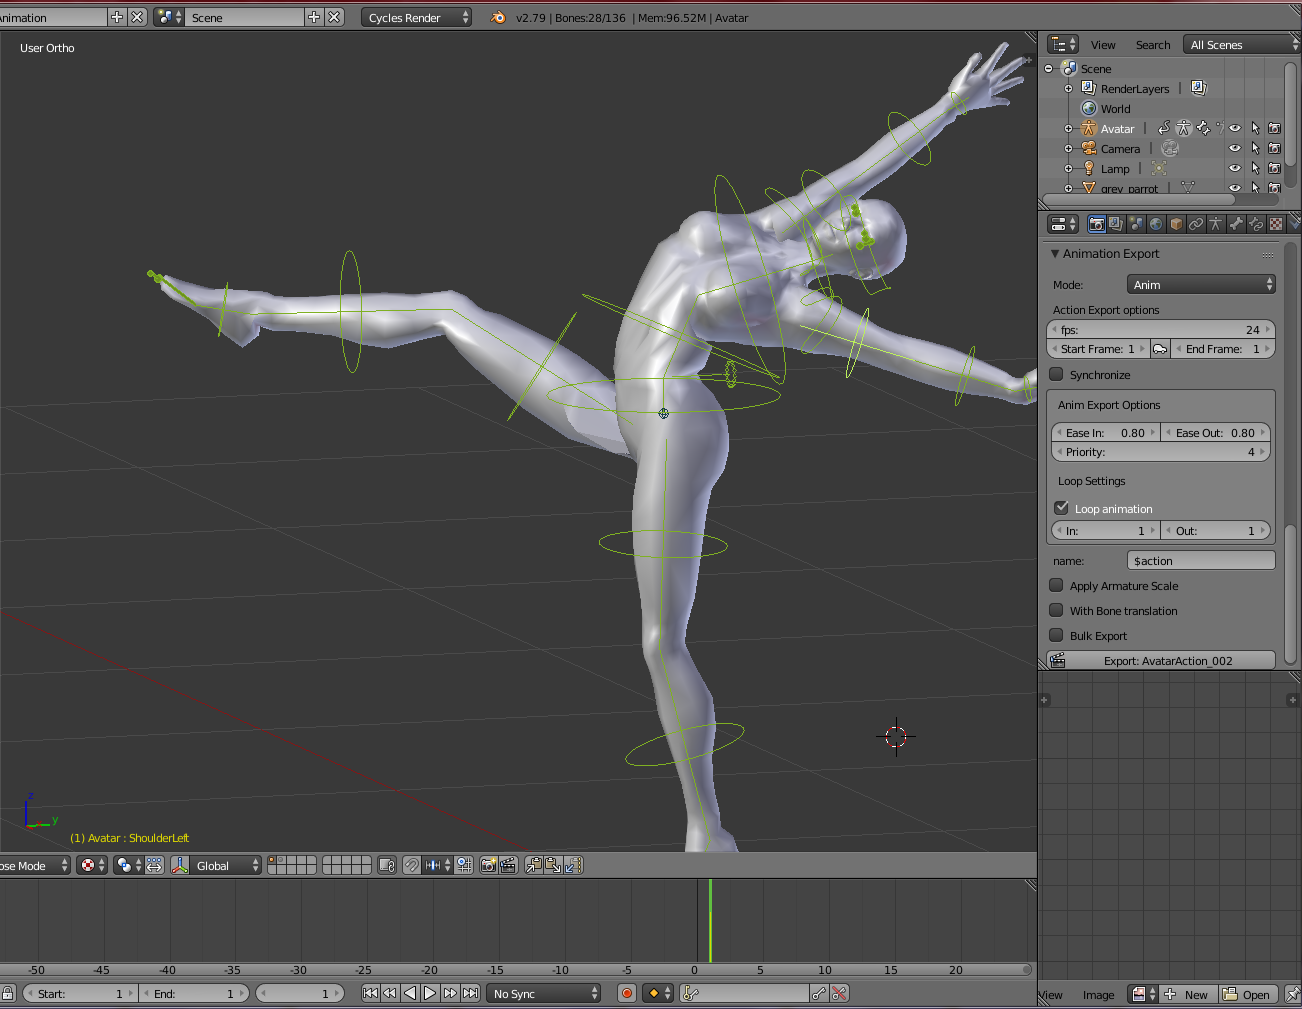
6. The green rings on the character are animation bones. Select one with a right click on your mouse. Press keyboard R and move the mouse to rotate it. Press keyboard G and move the mouse to grab a bone to a new position.
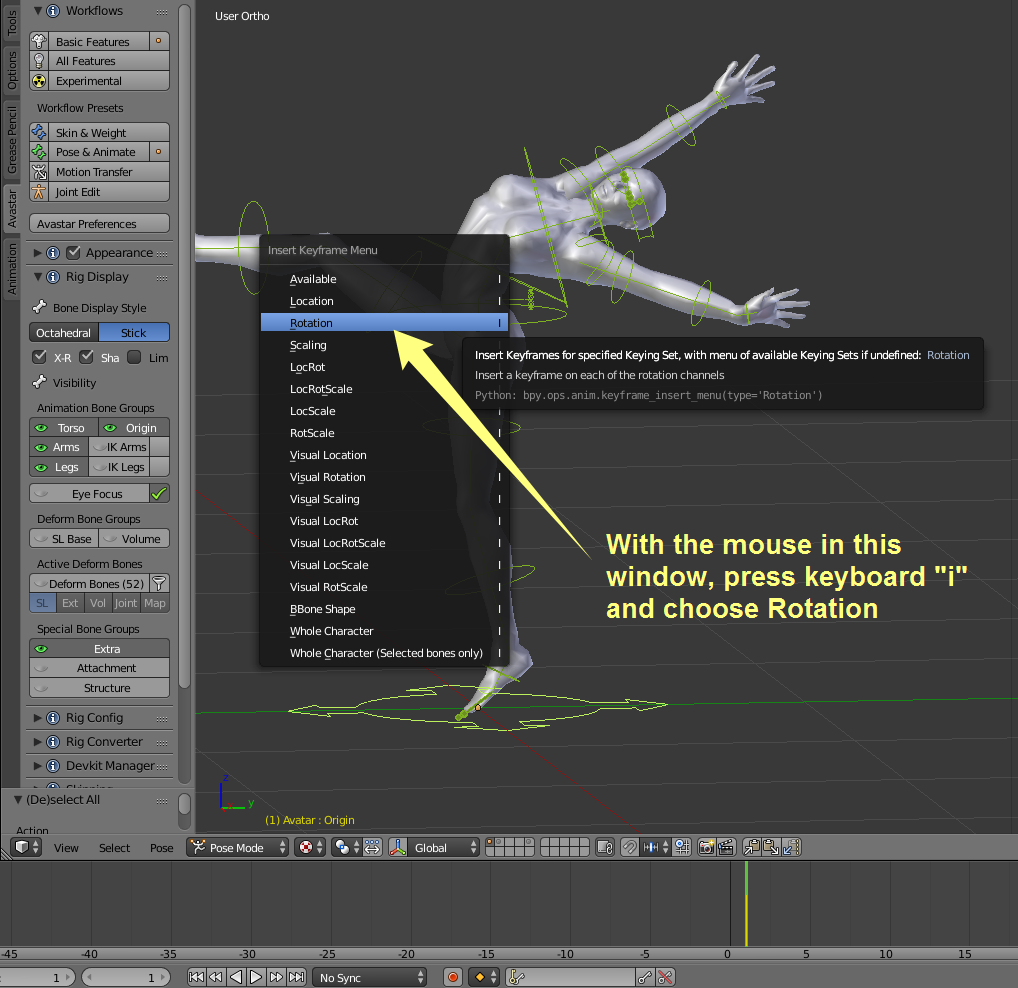
7. Select all the bones with keyboard A, press keyboard i and choose Rotation.
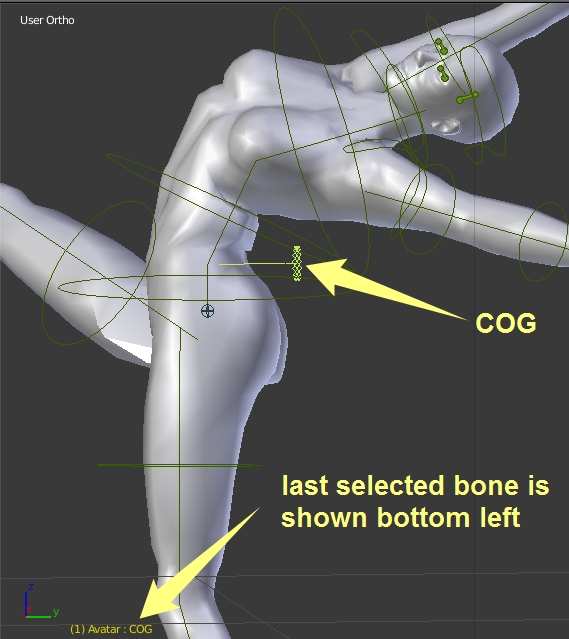
8. Select only the COG bone and press keyboard i and choose LocRot because this is the bone that controls the location of the character.
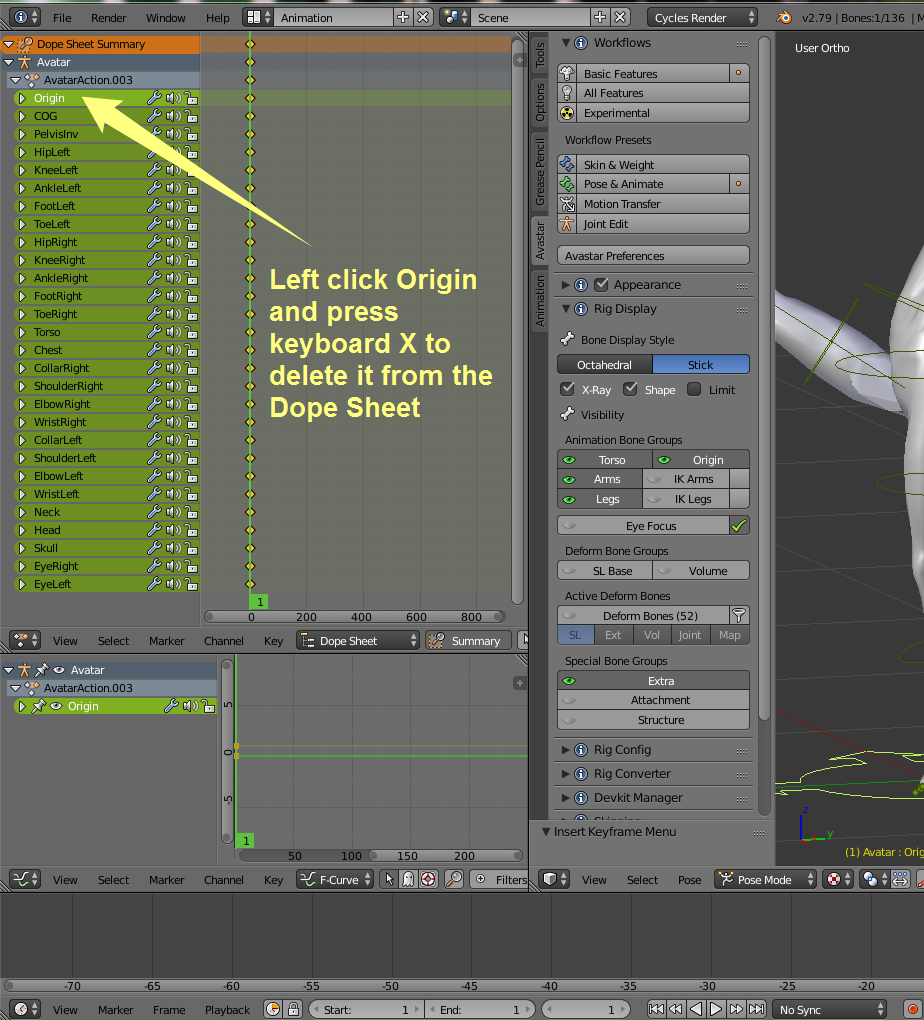
9. Look in the Dope sheet on the left and find the Origin in the list. Left click the name and then hover your mouse over it and press X to delete it.
10. Press the Camera button in the properties bar on the right. Scroll down to Animation Export.
11. Enter these settings, ensuring that the loop is set and then hit the Export button there.
A Moving Animation in Easy Steps (tbd)
Working with Bone constraints
The Avastar Rig tries to keep most of its complexity under the covers. The most important and unfortunately also the least understood part of the rig is its control bone section together with its set of Bone constraints. Here is a bit of information to shed some light on this.
The (green) Animation Bones and the (blue) Deform Bones of the Avastar rig are closely related to each other. Actually the Deform Bones by default inherit the Animation Bone’s Transformation matrices. So the animation bone skeleton and the deform bone skeleton are like almost perfectly synchronized twins. You can see this best with Bone display mode set to Octahedral:
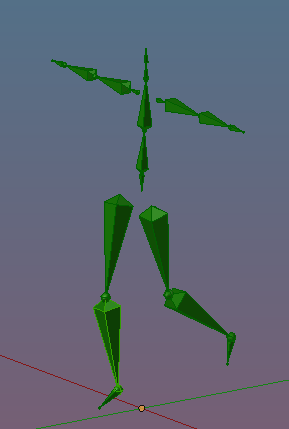
The Green Animation Bones are the master bones used for Animation
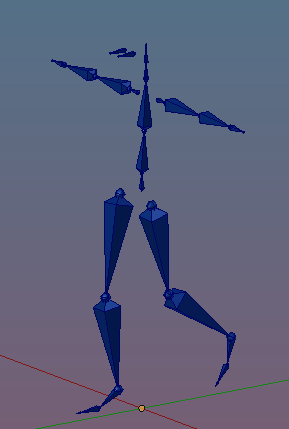
The Deform Bones are used for Skinning (Weighting). They normally follow the green animation bones
However there are 2 situations where you want to change the default behavior:
- When you Skin your Mesh (When you do weight painting tasks) then you almost always want to unlock the Bone Rotations of the Blue Deform Bones. Then you are free to pose the Deform bones for testing purposes.
- When you Animate your Character, then you may want to unlock the Location Constraints of the Green Animation bones, so that you can also perform Location animations.
Bone Constraints Panel (in Edit/Pose Mode)
- Bone Constraints Selector: Here you can specify if you want to affect
- All Pose Bones
- Same Group(1)
- All Visible Pose Bones
- All Selected Pose Bones
- SL Bone Rot: Lock/Unlock the rotation of the Deform Bones (good for weighting tasks)
- Anim Bone Trans: Lock/Unlock the Location of the Control Bones (good for special animations i.e. face animation)
- Vol Bone Trans: Lock/Unlock the Location of the Volume Bones (experimental)

(1)Same Group relates to the Pose Bone groups which you can find in the Rig Data Properties window (on the right side of the Blender screen)
Note: The Bone Workflow Presets affect the Bone Constraints in a subtlew way. When you select the Skin & Weight preset for example, then the constraints are automatically set appropriate for the Weighting workflow.
Import a bvh file to Avastar (tbd)
…