When you try to import a Fitted mesh with Joint Positions, then you typically end up in a desaster. This is probably due to a bug in the Second Life Importer. Actually i have never found any Fitted Mesh example that can be imported to Second Life with Joint Positions.
The workflow
Create your Fitted Mesh to your likes
Note that you can not position your Collision Volumes as you like. The locations of the fitted mesh bones are strictly determined by the positions of their related mBones.
Tip: You always only edit the green control bones. Then while in Edit mode, locate and click the button “Snap SL Base to Rig” This will move the Collision Volumes into place.
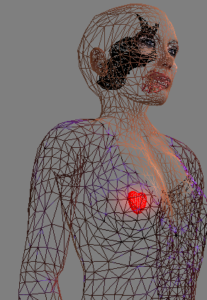
Create a classic Stub Mesh
This mesh can have any Shape and any complexity. However it is only used for getting the joint positions into place, so most probably you will create a small tetraeder, or cube, whatever you like best.
Tip: I personally prefer to create a small heart for this purpose.
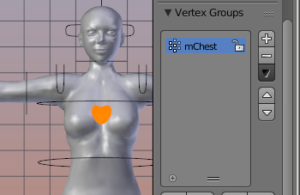
Bind Stub Mesh to Armature
Bind this Stub Mesh to your Fitted Mesh Rig. And then delete all its weight maps in the Vertex group list, except the mChest Vertex Group.
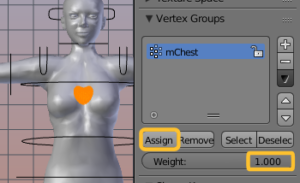
Then enter edit mode, select all vertices and assign all of the selected verts to the mChest Vertex Group with a weight value of 1.0
Import Stub Mesh to Second Life
Export your Stub Mesh from Blender as regular Collada file. Avastar will take care to create missing weight groups for you so that the SL Importer will keep happy.
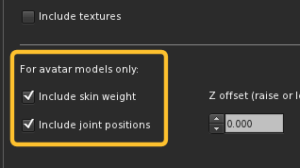
Now Import this mesh with Joint Positions enabled!
Import Fitted Mesh to Second Life
Export your Fitted Mesh from Blender as regular Collada file. Take care that you have all necessary bones (classic and Fitted) weighted to your likes.
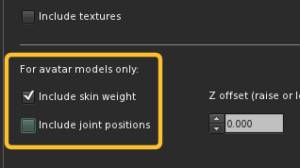
Now Import this mesh with Joint Positions disabled!
Wear both meshes
Your Stub Mesh now contains the modified joint positions, while your fitted mesh adjusts to the Skeleton as desired.
