Join multiple UV Maps into one single map. Useful when you have joined objects with different UV-Map names.
The Problem
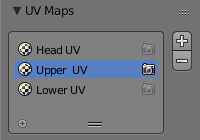
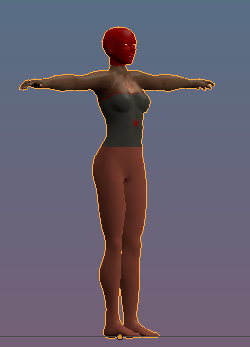
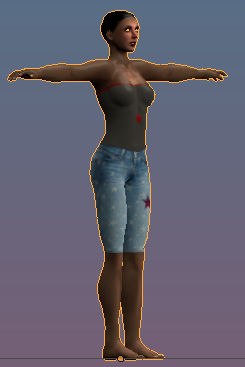
Assume you have a model that uses a set of UV Maps for different sections. For example, the character in the image aside consists of a Head, an Upper Body and a Lower Body. Each of the parts has got its own UV Map and each map i.e..: Head UV, Upper UV, Lower UV:
Sometimes it is necessary to merge a set of UV Maps into one single Map. That is needed for example, when the Target System (where the Model shall actually be used) does not support multiple UV Maps. However Blender does not provide any tools for merging UV Maps. That is where the UV Map Joiner tool steps in:
The UV Face Copy Tool
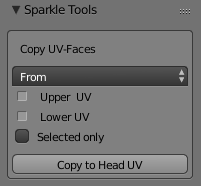
You find the Tool In the Properties Sidebar of the UV Editor (Press “N” on the keyboard to open the sidebar, or click on the small + Icon at the top right corner of the UV Editor). The Tool is actually a UV Face Copy Tool that allows to merge entire UV Maps into each other.
The Copy Direction:
You can either merge other UV Maps to the current active UV Map, or you can distribute the active UV Map to other UV Maps
You can either merge other UV Maps to the current active UV Map, or you can distribute the active UV Map to other UV Maps
From: Copy from Active UV Map to others
To: Copy all other UV Maps to Active UV Map
To: Copy all other UV Maps to Active UV Map
UV Map selectors:
Below the direction chooser you find the list of available UV Maps in your model. here you can select which maps shall take part in the Copy action.
Below the direction chooser you find the list of available UV Maps in your model. here you can select which maps shall take part in the Copy action.
Note: The Active UV Map is never shown in this list.
Selected Only:
This option restricts the copy to the selected UV Faces (actually UV Vertices) .
This option restricts the copy to the selected UV Faces (actually UV Vertices) .
Thus you can copy just a specific subset of your UV Map.
The button at the bottom of the panel executes the Copy tool.
Note: The UV Face Copy Tool only appears when the Model has 2 or more UV Maps.
Example
In this example
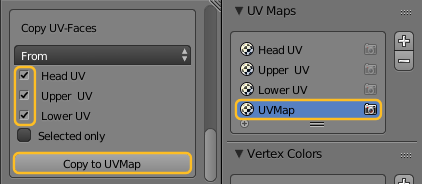
- Add a new UVMap as Target Map.
- Select the new Map as Active Map.
- In the Copy UF Face tool Choose From.
- Select all other UV Maps
- Then Copy to UVMap
The final resulting UV Map might look strange and totally broken. In fact the merge just reuses the same areas in the final map as it used in each of the copied UV Maps, thus the partial maps overlap.
However this is not a bug, but it is a consequence of how UV mapping works after all.
However this is not a bug, but it is a consequence of how UV mapping works after all.
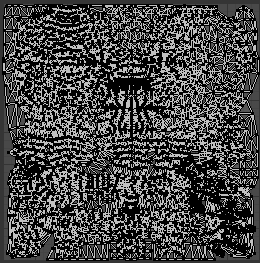
You can see that the above merged UV Map still creates the correct mapping on the model. the trick is that each UV Face is assigned to a different Image, thus although UV Faces overlap in the UV Map, they still map their image to the correct location on the Mesh.
