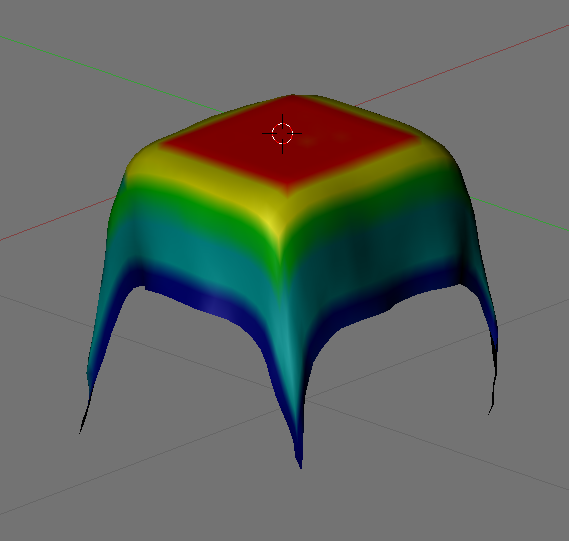
And here we go:
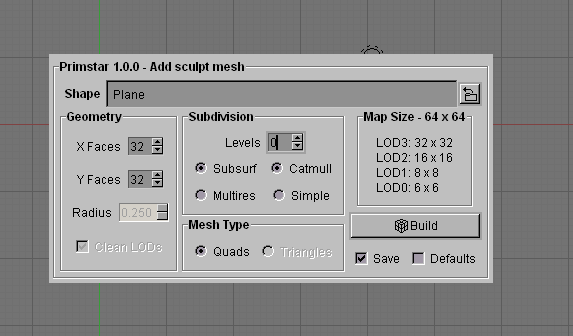
1.) Create a flat plane
If you are a sculptie maker, use primstar to create your initial sculptie plane. If you are just interested in the technique without wanting to create a sculptie, use add -> mesh-> Plane
– With primstar use the following settings:
- Sculptie type “Plane”
- 32 x-faces
- 32 y-faces
- 0 subdivision levels
– Now you have a simple 32*32 faces plane.
– Go to edit mode and select all vertices.
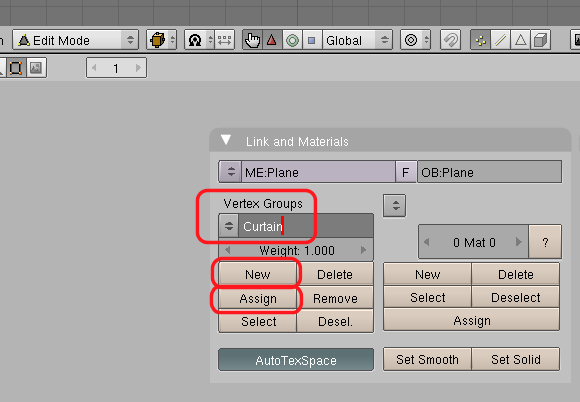
2.) Create a vertex group
– still in the F9 button menu locate the “Link and materials” tab.
– There create a new vertex group
– name it “Curtain”
– Assign all selected vertices to the group
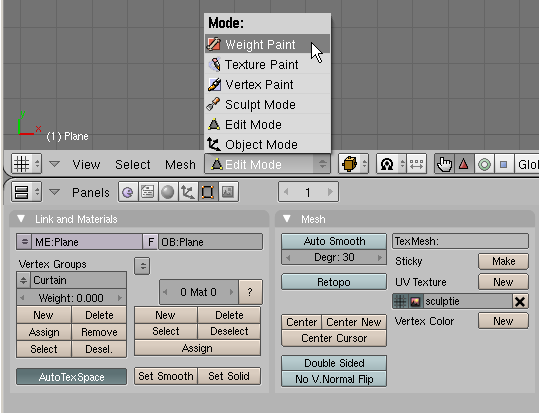
3.) The Weight paint mode
– Switch to “Weight paint” mode in the mode selector.
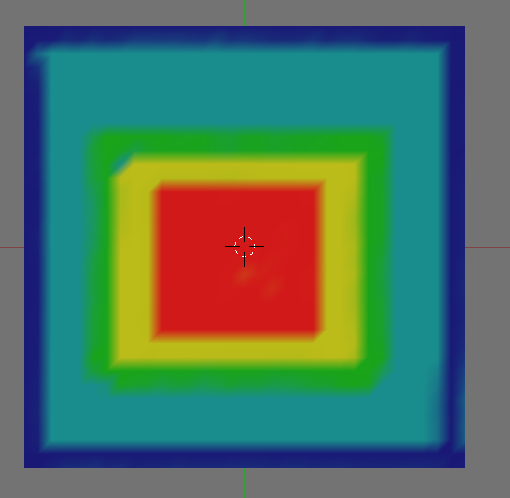
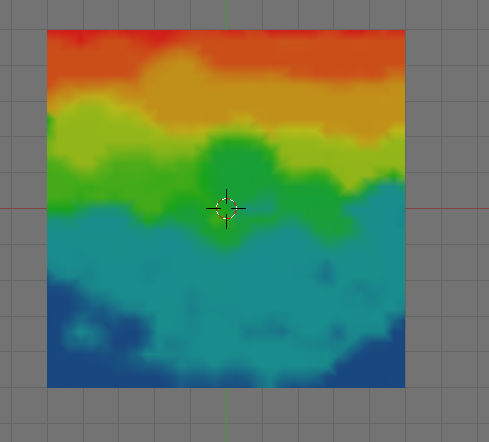
- When you are in Weight Paint mode, the curesor changes to a paint brush and you can paint directly on your mesh. The painted color is mapped to a “weight” between 0 (blue=very smooth and moveable) and 1 (red=very stiff and imovable).
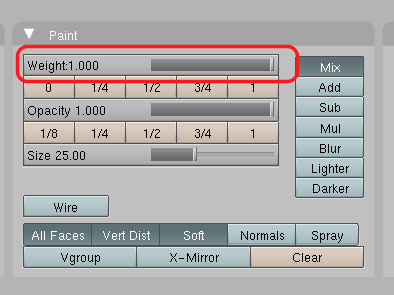
- The color can be changed with the Weight bar in the Paint tab (see left image belowbelow)
- We are coloring the top to red so that it keeps stiff and imovable, while further down towards te bottom we make the mesh smoother and smoother (turning to blue color)
- While painting use the Weight bar in the Paint tab (see left image below) to change the weight (and its associated color on the plane).
5.) The Physics buttons
– Switch to the Object buttons panel (F7)
– Switch to the Physics buttons (again F7)
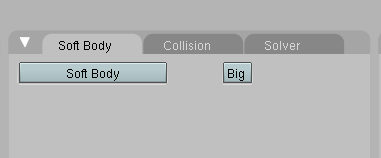
– Locate the Soft Body Tab
– enable Soft Body.
6.) “Use Goal Button”
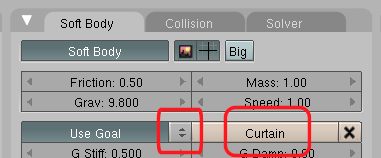
– Locate the “Use goal” Button in the Soft Body Tab
– click on the double headed arrow
– assign your vertex group (“Curtain”) to it (or however you named it in step 2. above)
7.) Animation mode
– Go to the top menu and locate the screen selection popup. It should be set to “SR:2 – Model”.

– Change that to SR:1 – Animation

– locate the play button and click on it. Watch your curtain wiggle in the air:
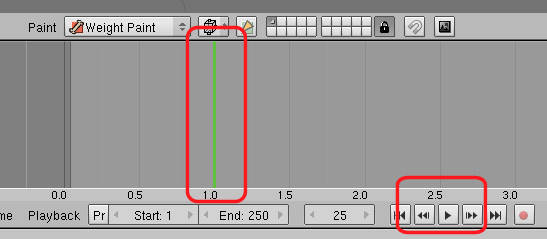
If you do not see the curtain moving during play, then try this:
- stop the animation
- rewind to frame 1 (left to the start button)
- play again
that should do the trick
8.) Select a still
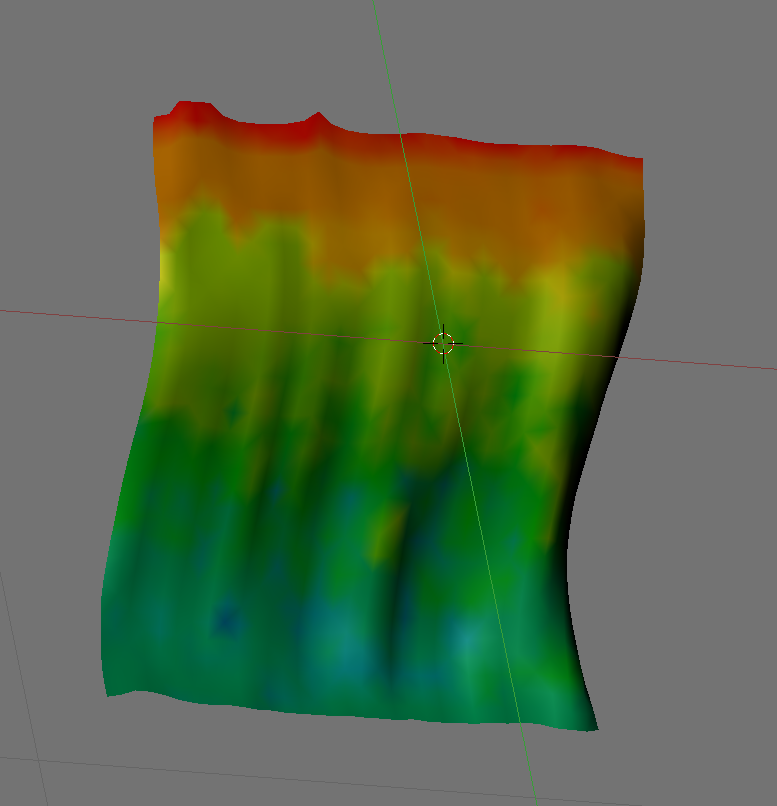
Now stop the player and grab the green time marker in the lower part of the screen and drag it with your mouse from left to right until you found a good shape.Your curtain will now look similar to this image:
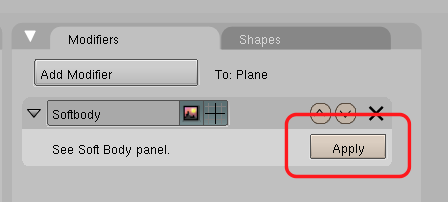
9.) Apply Softbody
Now go back to the edit button panel (Use F9) and apply the Softbody modifier:
And here is your curtain sculptie:
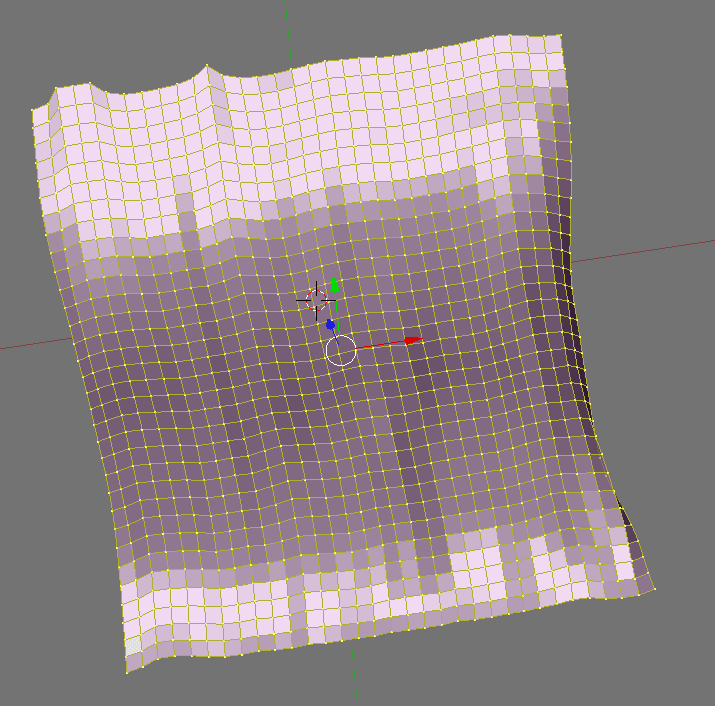
Of course you can add more wrinkles by modifying the top row of vertices before you go to the animation. But this is just a very quick and dirty go through the whole process…. Imagine what you could do with this technique if you take some time investigating on it. Here is a cloth made with this technique:
